
How to 3D Print Optimized, Separable Protein Models
- Aug 29, 2020
- 4 min read
Updated: Aug 30, 2020
A step-by-step guide on how to 3D print flexible, more affordable, and detachable models of proteins for hands-on analysis.


Dr. Rebecca Taylor at Carnegie Mellon University, who was my research advisor for this project, designed a Chimera plug-in that replaces gaps or small segments of protein models with given STL files. I designed snap-fit connectors that can be 3D printed pre-connected as one piece. I also designed and carried out experiments to determine the optimal structure for printing these models, as well as how to best color the parts at home.
The combination of these allow users to easily print precise, sturdy, and more affordable protein models that can be taken apart and put back together for educational and research use!
Compared to previous research on 3D printing protein models, this method outputs models that are more detailed and neat, optimize the quantity of material used, and have detachable snap connectors in customized locations.
WINDOWS SETUP
If you have Windows, follow the instructions below to download Chimera, a 3D Graphics tool for displaying and modifying protein models, and properly set up Dr. Taylor's plugin.
Download Chimera 1.14 (not ChimeraX)
Next, download BridgeGaps extension
Unzip folder into: this PC > Local Disk > Program Files > Chimera 1.14 > share
Download and install MeshLab 2020.03
Download and install Autodesk Meshmixer
FINDING PROTEINS
Any protein with a PDB file can be modeled and 3D printed. The RCSB Database currently has 168095 (and counting!) available downloadable structures.
If you have a desired protein or category in mind, simply search for it on rcsb.org (ex: SARS Coronavirus Main Protease 1Q2W)
If you're not sure what to select, pick a recently significant "Molecule of the Month"
Click on download files > PDB format
Optionally, you can make edits to the pdb file using a text editor (ex: text wrangler)

CHIMERA SETUP
Now, you can convert the pdb file into a detailed visual model. This will allow you to analyze and customize the protein later on.
On the top of the blue screen, File > open > desired pdb file (ex: 1q2w.pdb)
Once open, hit Tools > general controls > command line
Click into the command line, and type ~windowsize to fill the screen if necessary
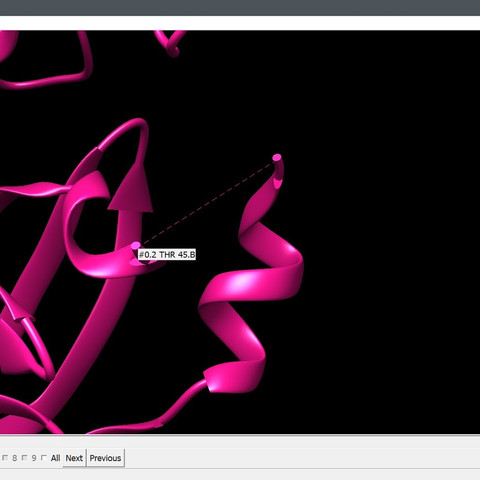
Use the command split to isolate chains
To view info on the split pieces, go to Tools > general controls > model panel
Input color “color” #“number” using list of colors (ex: color green #0.1) (more details)

CHIMERA CUSTOMIZATION
After preparing the model, you may now add struts (solid cylinders) or snap connectors (detachable fasteners), for support or separability. These are especially useful in areas of the model with gaps. You can also adjust the structural properties of the ribbon model.


For information on how I designed the connectors, some additional files you can substitute in, and instructions on how to make your own custom ones, check out my 3D Printed Snap Connectors that Print as One Piece article: coming soon!

To add structurally sound thicknesses to the ribbon model, go to Tools > depiction > ribbon style editor
Adjust the values in the pop-up window to match the ones pictured to the left
Finally, click on: File > Export Scene > File Type > .STL
For information on how I calculated these numbers, visit my post on Determining Feature Ratios, coming soon!
MESHLAB REPAIR
Chimera's mesh output isn't perfect, and can cause issues when uploading to either MeshMixer for edits or Shapeways for printing. Meshlab allow you to repair the mesh and reduce file size.
Use: File > Import Mesh to find and import your .STL file.
Using the Select Connected Components in a Region tool, select and delete any unwanted pieces.
Next, repair the file so it is suitable for printing.
Filters > cleaning > merge close vertices
Filters > cleaning > repair non manifold edges by removing faces
Filters > cleaning > repair non manifold vertices by splitting

Make sure not to click "repair non manifold edges by splitting vertices", since sometimes in my experience that causes the program to crash!
Uploading very highly detailed models to Shapeways or programs for further analysis can be very time consuming and not practical. Also, some files may be too large to meet Shapeways' upload requirement. To reduce polygon count:
Click Filters > Remeshing, Simplification, and Reconstruction > Simplification: Quadric Edge Collapse Decimation
Type .75 into the percentage reduction field and hit apply
Hit apply again until you reach the desired number of faces (can see the total face count in the purple bar at the bottom of the screen)
Once complete, go to File > Export mesh as > Files of type .STL
MESHMIXER MODIFICATIONS
Instead of creating models with solid circular cross-sections, a hollow circle makes the best use of material. A hollow circle with the dimensions listed below has the same moment of inertia as a solid circle, while only using 85.6% of the material volume.
First, to change the wall thickness:
Click edit > hollow
Drag the wall thickness to .38mm
Hit “update hollow”
Next, you must make escape holes to allow the Nylon powder to fall out of the finished model; otherwise, the material cost will be the same.

Make sure the number of holes per hollow slider is set to 2
Change the hole diameter to .5 mm (smallest)
Click Generate holes
Drag the red dots that appear
and then Apply
Finally, export the file as an .obj

SHAPEWAYS SUBMISSION
The final step is to upload your file to a 3D printing company that does Selective Laser Sintering with the material Nylon 12. I've ordered all of my prints from Shapeways.
Create or login to your Shapeways account.
Head over to https://www.shapeways.com/mymodels and upload your .obj file
Once uploaded, select the 3D Print option
Below the graphic displaying your part, click on resize
Adjust the scale to 200%, and save your changes
Select versatile plastic as your material and purchase the part!
That's it! If you would like to add color to your prints for a much more affordable price than what Shapeways offers, check out my tutorial on Custom Coloring 3D Printed Parts: coming soon!


Comments